10 August 2026 · 11 min read
How to Do Diamond Art: A Step-by-Step Guide for Beginners
If you've just unwrapped your first diamond art kit, you might be staring at the canvas, gems, and pen wondering exactly where to start. The good news is that diamond art has one of the gentlest learning curves of any craft: within your first ten minutes you'll have the technique down, and from there it's simply a matter of pace.
This step-by-step guide covers everything a beginner needs, from unboxing your kit correctly to the small habits that make the process faster and more enjoyable, right through to caring for your finished canvas.
What you'll find inside your kit
Before you start, lay everything out so you know what you're working with. A complete diamond art kit includes the printed, numbered adhesive canvas, bags of resin gems sorted by numbered color code, a wax-tipped applicator pen, a block of wax, and a small sorting tray.
Take a moment to check the canvas for its full-color reference image, usually printed on the packaging or a separate sheet. You'll refer back to it if you ever want to double-check a color placement.
Step 1: Set up your workspace
Work on a flat, stable surface with good, even lighting; natural daylight or a bright desk lamp makes it much easier to tell similar shades apart. Unroll the canvas and, if it has curled during shipping, leave it flat under a light weight for a while before you start.
Keep your gems, tray, pen, and wax within easy reach so you're not constantly shifting position mid-session.
Step 2: Sort your gems
Pour each bag of gems into its own compartment in the sorting tray, matching the printed number on the bag to the corresponding symbol on the canvas legend. This upfront sorting step takes a few minutes but saves a lot of time later, since you won't be hunting through mixed piles for the right color.
Step 3: Peel and place
Peel back a small section of the plastic film covering the sticky canvas, just enough to work comfortably without exposing so much that it collects dust or loses tack. Dip the tip of the applicator pen into the wax, then touch it to the flat top of a gem; it should stick to the pen tip on contact.
Press the gem firmly onto its matching numbered symbol on the canvas, then lift the pen straight up to release it. Repeat, working through one color or one small area at a time, until that section is completely filled.
- Work by color. Filling in one gem color across a whole area first is usually faster than jumping between colors.
- Work by section. Alternatively, complete one small area fully, gem by gem, before peeling back the next part of the film.
- Press firmly. A firm, even press seats the gem flat and helps it hold long term.
Common beginner mistakes and how to avoid them
| Mistake | Why it happens | How to fix it |
|---|---|---|
| Gems sitting crooked | Placed at an angle instead of pressed straight down | Press gently but directly downward, then flatten with a fingertip if needed |
| Losing gems | Working with too much film peeled back at once | Only expose the section you're about to fill |
| Mixing up similar colors | Working in dim light | Move to a brighter spot or use a daylight lamp |
| Canvas losing stickiness | Left exposed too long before finishing | Cover unfinished sections again with the plastic film between sessions |
Pacing yourself: it's not a race
One of the biggest adjustments for beginners is accepting that diamond art is meant to be slow. Most people spread a canvas across several relaxed sessions rather than trying to finish it in one sitting, and that's exactly how the hobby is meant to work.
If you're curious how long a given canvas size realistically takes, our guide on how long diamond art takes breaks it down so you can set expectations before you start.
Finishing and caring for your canvas
Once every symbol is covered, run a flat, hard surface, like a book or the flat side of the applicator pen cap, gently over the whole canvas to help seat every gem evenly. This step also helps you spot any missed or crooked gems before you consider the piece finished.
From here, many people frame their canvas to protect and display it properly; our guide on how to frame diamond art walks through the easiest options for turning your finished piece into real wall art.
Choosing your first design
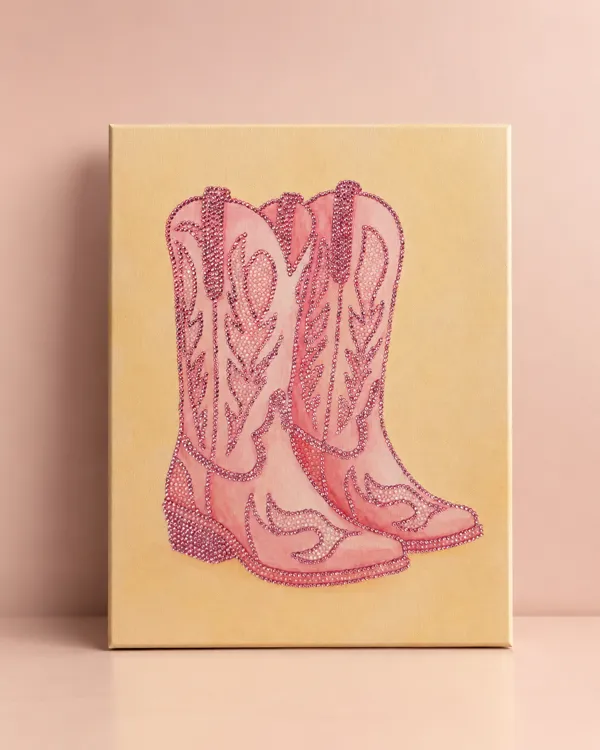
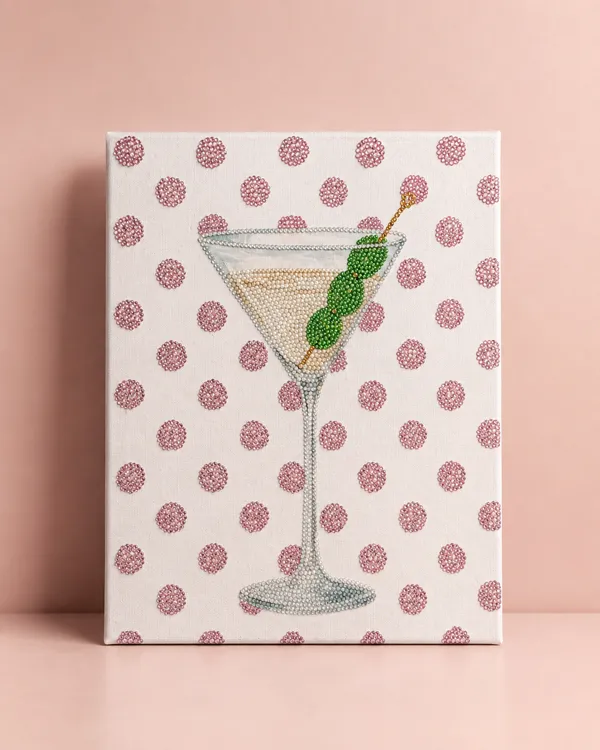
For your very first project, pick a design with clear, well-defined color blocks rather than something highly detailed with dozens of subtle shade variations. Designs like Pink Rodeo or Polka Martini are a friendlier starting point than a busy, photo-realistic image, and finishing them faster will keep you motivated to start your next canvas.
Frequently asked questions
Is diamond art hard for a complete beginner?
No. The numbered canvas tells you exactly where each gem color goes, so there's no drawing or freehand skill involved, just patience and a steady pace.
How do I know which gem color goes where?
Each gem bag is marked with a number that matches a printed symbol on the canvas; sorting your gems by number before you start makes matching them fast and easy.
What if I run out of a certain gem color?
Good kits include a small surplus of each color for this exact reason, so you should have a few extra gems left over even after covering every symbol.
Should I work by color or by section first?
Both approaches work well; filling one color at a time across the canvas tends to be faster, while working section by section keeps a smaller area of the sticky canvas exposed at once.
How do I fix a gem that's placed crookedly?
Gently lift it back off with the applicator pen or your fingertip while the adhesive is still fresh, then press it back down straight onto the same symbol.
What should I do once the canvas is finished?
Smooth the whole surface with a flat object to seat every gem evenly, then frame it to protect and display your finished diamond art canvas.
Shall we start your piece?
Premium canvases reinforced with high-refraction gems. Shipping in 24-72 hours.
See the collection